No credit card required. The free plan stays free.
On this page
Phase 1 / 4Defensive zone
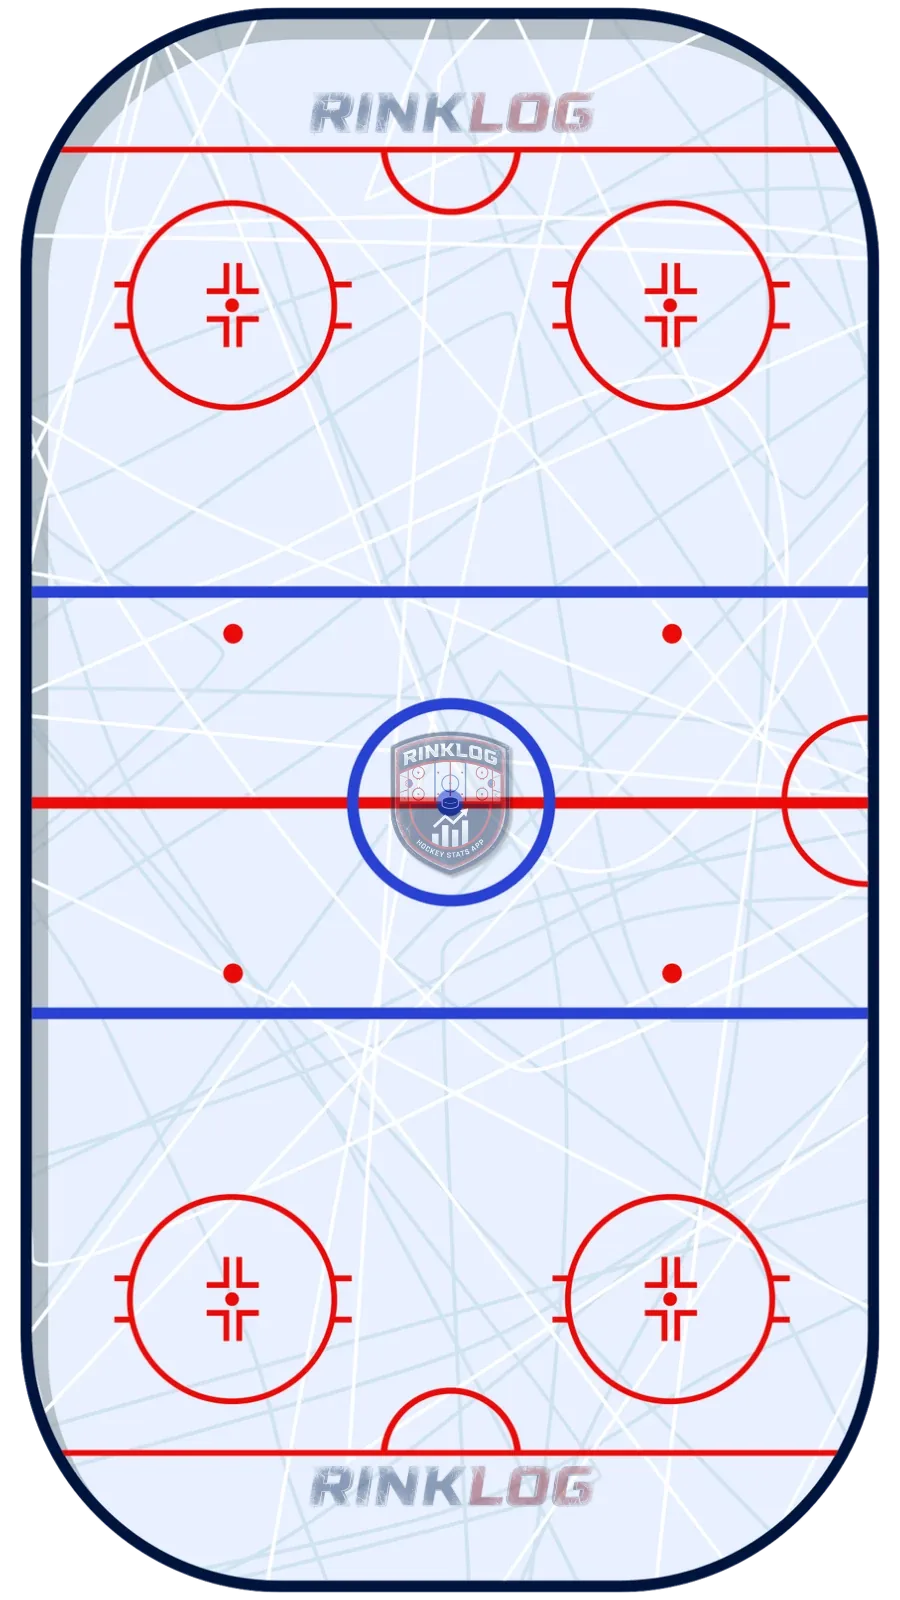
Five Across lined up at the left defensive circle, the default assignment on roughly 80 percent of lost defensive-zone draws: every player covers one specific opponent, with zero rotation. C faces O1 at the dot. RW stands inside the circle, LW in the high slot. D1 covers O2 in the strong corner, D2 covers O3 on the other side; O4 and O5, the two opposing defensemen, hold both points at the blue line. Another option: D2 can drop back a few steps to speed up the breakout on a win, the only common variation on this alignment.
- Our team
- Opponents
- Pass
- Shot
- Puck
Five Across, shown above, remains the NHL's standard alignment on a lost draw: every player holds a fixed assignment, with zero rotation. The center stays with his direct opponent, the inside winger cuts through the circle to pressure the opposing point defenseman, the other winger settles into the high slot, ready to jump on the other defenseman if the puck switches sides, and both defensemen stay with their forwards. The only common variation: dropping the second defenseman back a few steps to speed up the breakout on a win.
The alternative, D Back, instead places a defenseman directly behind the center. The payoff only shows up on a win: the breakout leaves faster, because a defenseman is already positioned to receive it. The cost shows up on a loss, where roles flip all at once and demand specific training, which is exactly why the alignment stays rarely used despite the edge it offers on a win.
On a win, the short D-to-D pass stays the base option: the first defenseman gets the puck near the circle, relays it to his partner at the short post, who then decides between rimming it, passing to a forward, or returning it to his partner. Bump to partner answers a single-man forecheck by pre-positioning the second defenseman already facing the neutral zone, to save precious time. Wide rim instead bets on surprise: both defensemen switch sides before the draw to make a fast rim pass easier, meant for late in a game rather than as a regular option.
Two plays answer the same problem, an opposing winger pressing hard on the boards side and cutting off the pass to the second defenseman: spin and up strong-side, where the defenseman fakes going behind the net before pivoting and carrying the puck up, and reverse to center, its backup version when pressure arrives too fast to reach behind the net. The breakaway play and the quick-change play stay calculated risks, saved for the rare moments a team trails late in a game: both rely on a fake to create a clean scoring chance, and lose all surprise if used too often.
Spotting the alignment takes one second, even from the stands: if a defenseman already stands directly behind the center, that is D Back; otherwise, it is Five Across by default. On a loss, one detail matters: does the inside winger really cut through the circle to pressure the point, or does he hesitate between the slot and his winger? That is precisely why a goaltender who faces fewer shots on lost defensive-zone draws rewards solid alignment execution, a dominance to measure in RinkLog, game after game.
A lost defensive-zone draw is not a disaster on its own, as long as the coverage that follows stays disciplined. That is exactly the point of Five Across: turning a loss into a stable, ordinary defensive sequence instead of an improvised scramble in front of the goalie.
- Five Across covers roughly 80% of lost defensive-zone draws, with zero rotation
- D Back speeds up the breakout on a win, at the cost of a riskier adjustment on a loss
- The breakaway play and the quick-change play stay reserved for rare late-game moments
- The winger hesitating between the slot and his check remains the most common mistake to watch for
RinkLog measures and computes all of this automatically during your hockey, ball hockey and ringette games.
No credit card required. The free plan stays free.
Frequently asked questions
What is the Five Across alignment in hockey?
It is the standard defensive alignment on a lost defensive-zone draw, used in roughly 80% of cases according to the book: every player holds a fixed man-to-man assignment, the center with his direct opponent, each winger with his own role, each defenseman with his forward, without ever rotating.
Why use Five Across instead of D Back?
Five Across is simpler to train and stays stable even on a loss, which explains its role as the default alignment. D Back speeds up the breakout on a win, but requires specific training so it does not fall apart on a loss, which is why it sees rarer use.
Is the breakaway faceoff play risky?
Yes, and the book explicitly files it among calculated-risk plays. It relies on a fake from the defenseman and the winger to spring a clean breakaway, but loses its effect the moment the opponent has seen it once, so it is saved for moments a team trails late in a game.
The free plan lets you create a player and track their games with no credit card.
Create my free accountOn the same topic
- How do you win an offensive-zone faceoff?Alignment plays for winning an offensive-zone faceoff: the inside winger draw, the roll out, and the immediate reaction on a lost draw.
- Why do neutral-zone faceoffs matter so much?The seven plays for a won neutral-zone faceoff and three reactions to a lost one, long overlooked but decisive for launching a fast breakout.
- How do you calculate faceoff win percentage?Calculating a center’s faceoff win percentage, the benchmarks (50%, 55%) and why this statistic improves with technique.
- What are the hockey defensive zone coverage systems?The four defensive zone coverage systems in hockey: the 2-3, the low zone collapse, the half-ice overload and man-on-man, compared side by side.