No credit card required. The free plan stays free.
On this page
Phase 1 / 3Defensive zone
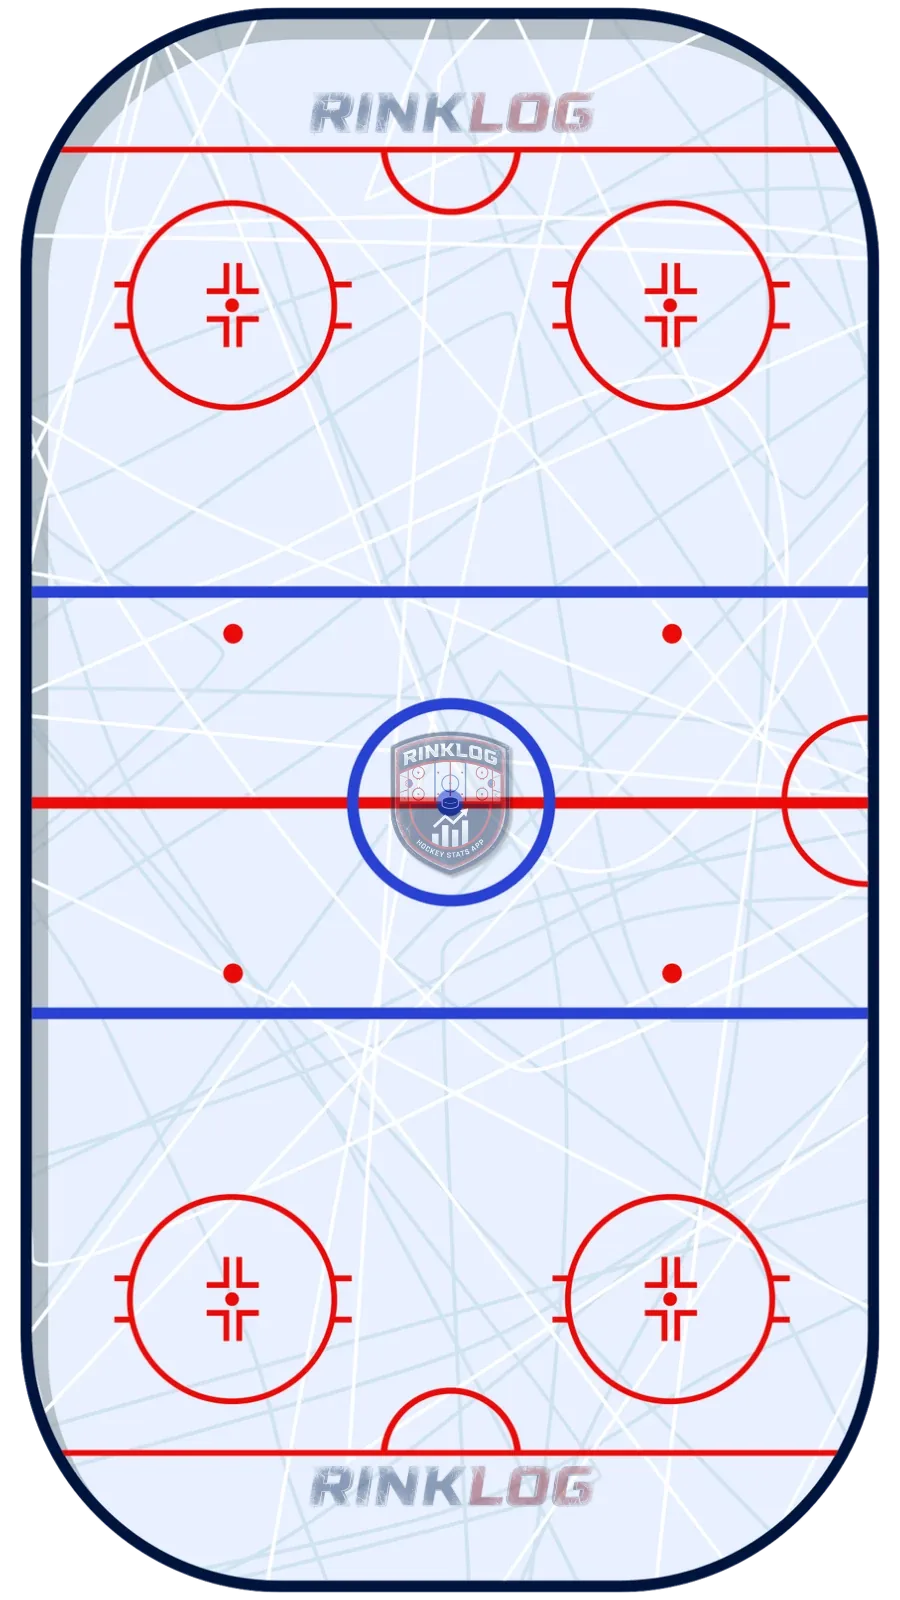
Puck in the corner, in the engagement zone: D2 closes on the carrier while C holds the support zone right behind him. D1 occupies the net zone and stays between O5 and the goalie, LW holds the top of the strong-side circle, and RW leans into the slot.
- Our team
- Opponents
- Pass
- Shot
- Puck
The engagement zone, closest to the corner and the top of the strong-side circle, is the first line. Whoever stands there closes quickly on the carrier once possession is clearly established. The visual cue is simple: seeing the opponent's number turned away means close fast; seeing his crest facing you means contain, holding position briefly before going after the carrier cautiously.
Right behind it, the support zone keeps an eye on the carrier and the closest passing option, ready to step in if the first player gets beaten or falls. The instruction is clear: stay above the goal line, because very few goals come from behind the opposing net. Rushing into this zone stays the system's most common mistake.
The net zone, right in front, must always be occupied, usually by a defenseman, positioned halfway between the potential shooters on the puck side. That player stays out of the crease to leave the goalie free to move, and never leaves the zone without being replaced by a teammate.
The strong-side high zone belongs to a winger, who holds the inside position at the top of the circle and refuses inside access. Once the pass reaches the point, he closes on the opposing defenseman in the shooting lane to take away the direct shot. The real danger comes next: a quick sequence from the corner to the point and then to the back-side slot.
That is where the fifth zone comes in, the back-side slot, assigned to the third forward. He slides lower if the net-front defenseman gets caught out of position, but above all has to keep his head on a swivel to avoid losing track of the weak-side opposing defenseman, who might slip inside, out of the goalie's field of view. Committing two sticks at once on the carrier in the engagement zone remains the other classic breakdown to avoid.
The five zones map almost exactly onto the ice, from the corner to the opposite slot, an easy landmark even from a distance. Watch a single zone for a full shift, rather than trying to see everything: that is how coaches actually correct the system, and RinkLog keeps every shot allowed timestamped and located, enough to confirm whether the breakdowns always come from the same zone.
- Only one player engages at a time in the engagement zone, never two sticks together
- Stay above the goal line in support; very few goals come from behind the net
- The net zone is never left empty without a teammate replacing you
- Head on a swivel in the back-side slot to avoid losing the opposing defenseman
RinkLog measures and computes all of this automatically during your hockey, ball hockey and ringette games.
No credit card required. The free plan stays free.
Frequently asked questions
Why is the 2-3 recommended against a balanced attack?
Because it covers the five dangerous zones of the ice without fully sacrificing any one of them, unlike the overload or low collapse, which willingly give up one side or the outside space.
What is the most common mistake in the 2-3 system?
Rushing in behind the goal line in the support zone, when very few goals actually come from there. The second classic error: the back-side slot player losing track of the opposing defenseman and letting him slide into a dangerous area.
The free plan lets you create a player and track their games with no credit card.
Create my free accountOn the same topic
- What are the hockey defensive zone coverage systems?The four defensive zone coverage systems in hockey: the 2-3, the low zone collapse, the half-ice overload and man-on-man, compared side by side.
- How does the low zone collapse work in hockey?The low zone collapse in hockey: all five players collapse in front of the net, the D-to-D role swap, and the strengths and weaknesses of the system.
- What are the main hockey systems?The main families of hockey systems: breakouts, forechecks, neutral zone, attack zone, defensive coverage, special teams and face-offs, explained simply.