
No credit card required. The free plan stays free.
On this page
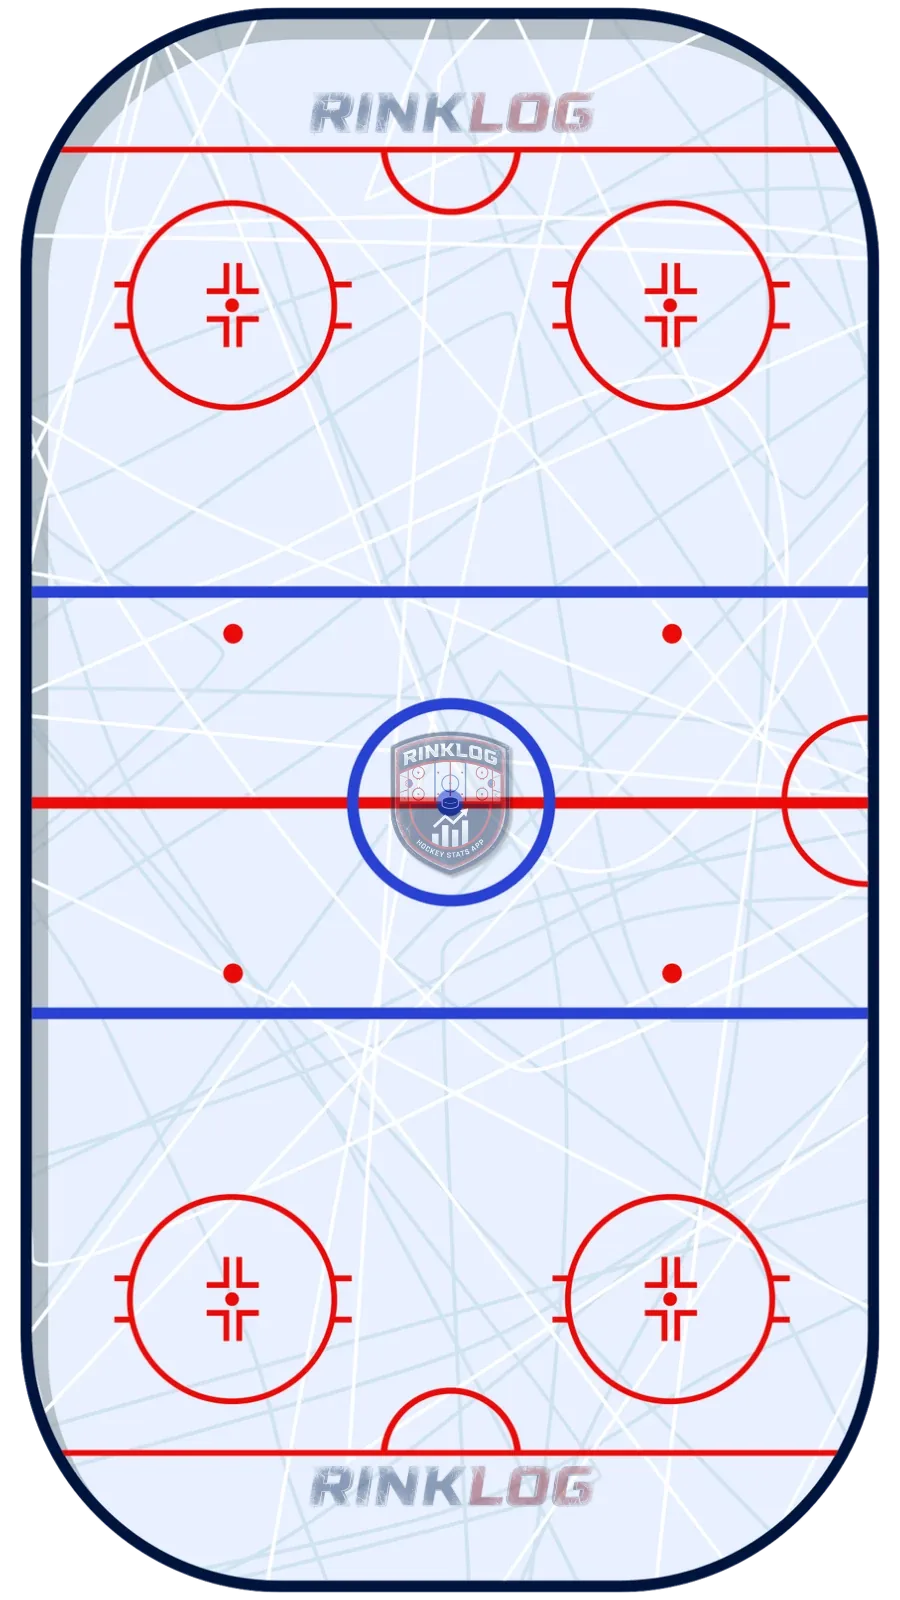
Phase 1 / 3Defensive zone
All five players collapse into the low zone and play the attack five on three locally. D1, F1 and D2 occupy the engagement, support and net zones like in the 2-3. F3 stays glued to the net covering the low slot, while F2 collapses under the circles to deny any pass back to the point.
- Our team
- Opponents
- Pass
- Shot
- Puck
The three low players work first just like in the 2-3, one in the engagement zone, one in support, one at the net. The difference is one detail: the low defenseman can now move all the way to the strong-side post, wider than in the classic 2-3, because the rest of the team has tightened up to compensate.
The fourth player stays glued to the net and covers the low slot, while the fifth, also collapsed under the circles, tries to deny any pass back to the point. That double low presence is what removes most of the room in the slot, the system's primary goal.
As soon as the puck goes back to the point, the player who was denying the return pass opens up quickly into the shooting lane, under control, ready to slide down and block the shot only if it is truly necessary. Coming out too early or out of control reopens the low slot, the system's most common mistake.
The real mechanism shows up on a defenseman-to-defenseman pass: the two players protecting the slot and the shooting lane swap roles, whoever was blocking the lane now protects the low slot, and vice versa. Failing to swap correctly leaves both players in the same area at the same time, a clean breakdown.
The low collapse's main advantage is as sharp as its flaw: very little room in the slot on one hand, but quick plays to the net on the other. An opposing defenseman driving straight to the net can create a two on one against the lone player protecting the slot, even though that pass stays hard to complete. A team that quickly changes its point of attack up high can also exploit the fact that the defense stays concentrated very low.
Density gives away the low collapse: five jerseys packed around the net rather than spread across the 2-3's five zones. The signal to watch is precise, a D-to-D pass that triggers the role swap between the two players in front of the net: if it happens a beat late, the slot opens. RinkLog locates every shot allowed by zone, which lets you check whether the system is truly removing the promised space or just moving it around.
- The low defenseman can move all the way to the strong-side post, wider than in the 2-3
- Step out into the shooting lane only under control, never rushed
- The role swap on a D-to-D pass is the system's central mechanism
- A quick drive to the net stays the real accepted risk, even though it is hard to complete
RinkLog measures and computes all of this automatically during your hockey, ball hockey and ringette games.
No credit card required. The free plan stays free.
Frequently asked questions
Against which type of team does the low collapse work best?
Against a team that generates little from the blue line but plenty from below the circles, because the system removes almost all the room exactly where that attack produces the most.
What is the most common mistake in the low zone collapse?
Coming out too early or out of control toward the shooting lane, which reopens the low slot at the exact moment the team needed it covered most. The second: mistiming the role swap on a D-to-D pass, leaving two players in the same area at once.
The free plan lets you create a player and track their games with no credit card.
Create my free accountOn the same topic
- What are the hockey defensive zone coverage systems?The four defensive zone coverage systems in hockey: the 2-3, the low zone collapse, the half-ice overload and man-on-man, compared side by side.
- How does the 2-3 defensive zone system work?The 2-3 defensive zone system: five zones, engagement, support, net, strong-side high and back-side slot, with the most common breakdowns.
- How do you defend the rush in hockey?Defending the rush in hockey: reading the odd-man break, the real two on one, the two ways to play it, and why holding the middle is the fallback.