
No credit card required. The free plan stays free.
On this page
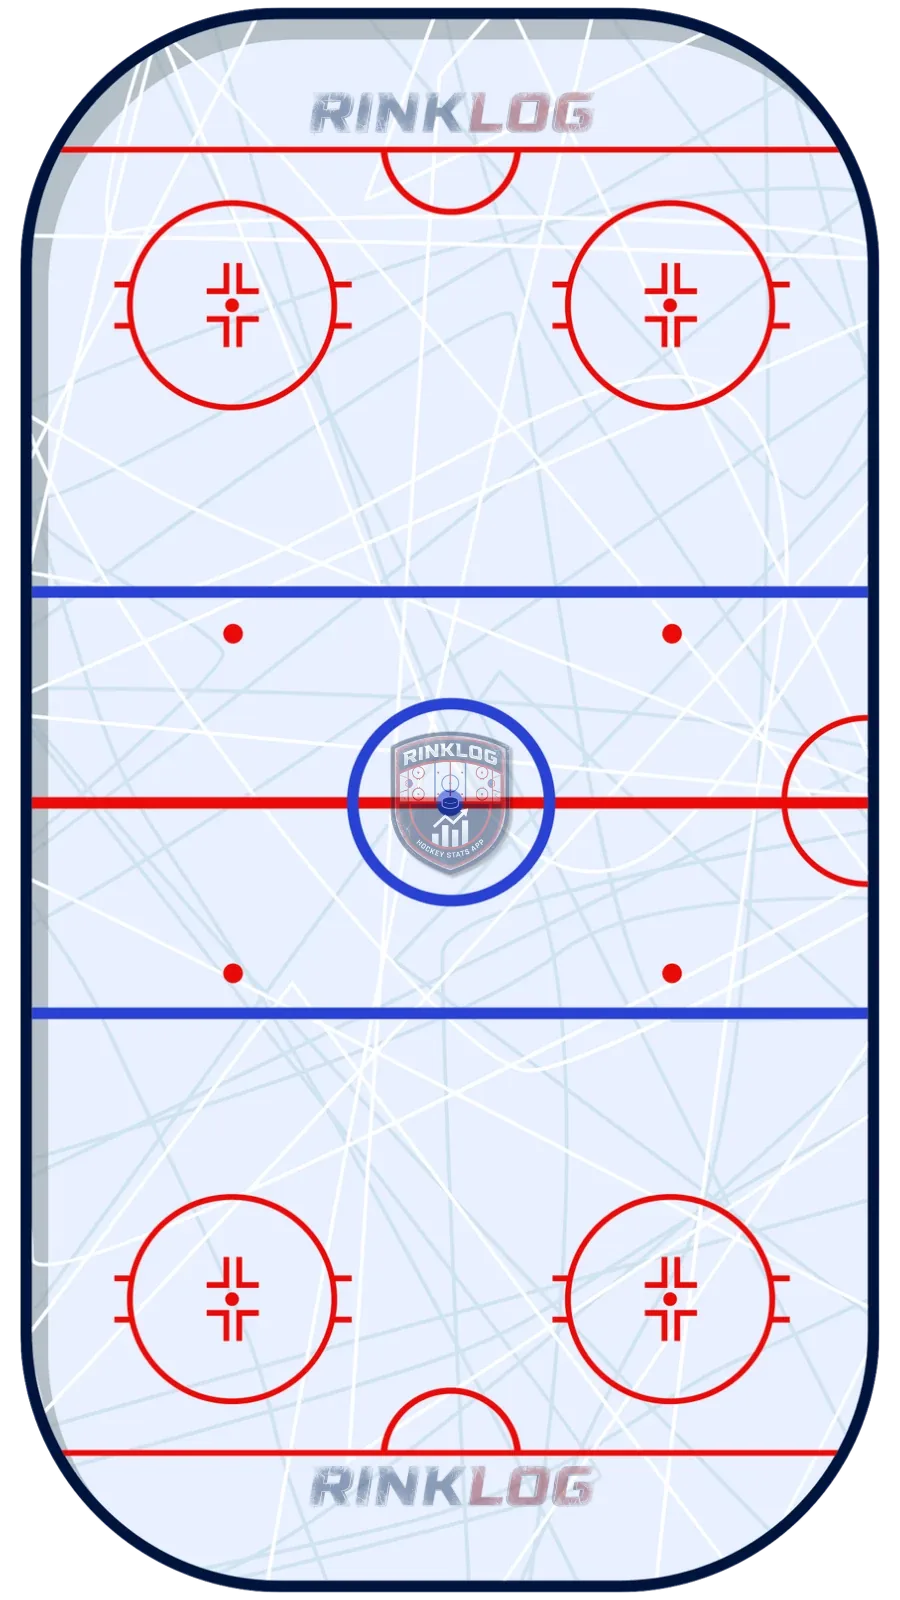
Phase 1 / 4Full ice
A controlled breakout against a trap already set up: D1 waits behind his net with the puck while C skates back with speed from the neutral zone to swing behind him. LW and RW each stretch to a blue line. X1 through X3 form the trap's wall between the blue and red lines, X4 and X5 hold the opposing offensive blue line.
- Our team
- Opponents
- Pass
- Shot
- Puck
The five breakout calls, up, over, wheel, reverse and rim, work against an individual forecheck. A neutral zone trap changes the equation: the opponent is not waiting for the puck to come out, it has already closed the middle of the ice before the team even reaches its own blue line. The book responds with three controlled breakouts, where the four players without the puck move with speed on a plan fixed in advance, the key to beating any of the three.
The blue-to-blue stretch is the best known: D1 waits behind his net while the center skates back with speed to pass behind him, one winger waits at the corner of the defensive blue line, the other at the corner of the far offensive blue line. Two variants exist: the center takes the puck and either threads it through the trap or moves it to a winger, or D1 keeps it, lets the center skate past without giving it to him, comes out the other side of the net and acts like a quarterback choosing between his partner and the two stretched wingers. Well executed, this play often creates a scoring chance on top of beating the trap.
The strong-side slant instead relies on the pure speed of two specific players. D1 waits for the center to swing behind the net or into the far corner, then passes to D2, who skates up with three options: to the winger stationed at mid-wall, directly to the winger slanting on a diagonal through the neutral zone, or diagonally to the center arriving from the other side. Success depends almost entirely on the speed of those two players at the moment they slant, not on which pass gets chosen.
Three high flips the logic: all three forwards line up high in the neutral zone before D1 even comes out from behind his net, giving him an immediate, clear view of options that are already established rather than waiting for his teammates to get in place. D1 passes to the center, who curls his route toward the middle, or directly to one of the wingers stationed along the lines. Under pressure, the center can also chip the puck ahead of him to create a race for it instead of trying to keep it.
All three breakouts share the same warning: trying to master them all at once instead of picking one and repeating it until it becomes automatic is the most common mistake. The blue-to-blue stretch gives the puck carrier the most options, the strong-side slant rewards pure speed from two players, three high gives the exiting defenseman the clearest view. None of the three is objectively better, they simply demand a different commitment from the team.
The trap's own documented weakness, the wide pass to a winger already up to speed detailed on the neutral zone trap page, explains why these three breakouts work: they force exactly that kind of impossible choice on the opposing wall. Game after game, RinkLog shows which of the three controlled breakouts a team actually executes best against an organized retreat, every attempt timestamped and located to back it up.
- Blue-to-blue stretch: the center or defenseman chooses between three options
- Strong-side slant: depends mostly on the speed of two specific players
- Three high: the wingers set up before the defenseman even comes out
- A coach picks just one and repeats it until it becomes automatic
RinkLog measures and computes all of this automatically during your hockey, ball hockey and ringette games.
No credit card required. The free plan stays free.
Frequently asked questions
Why is a controlled breakout needed against a trap?
Because the trap closes the middle of the ice before the team even reaches its own blue line. The five individual breakout calls (up, over, wheel...) are no longer enough: all five players need to move together on a pattern set in advance.
Which of the three controlled breakouts is best against a trap?
None is objectively better. The blue-to-blue stretch offers the most options, the strong-side slant rewards pure speed, three high gives the clearest view. The choice depends on team style, not a fixed hierarchy.
Should all three controlled breakouts be taught at the same time?
No. The book flags this as the most common mistake: picking just one and repeating it until it is automatic beats teaching three of them halfway.
The free plan lets you create a player and track their games with no credit card.
Create my free accountOn the same topic
- What is the neutral zone trap in hockey?The neutral zone trap explained: definition, history (popularized in the 1990s, the Devils, European hockey), how it works, and its documented weakness.
- How do you break out of your own zone in hockey?Hockey breakout principles: three pressure levels, roles by position (center, wingers, goalie, defense) and three golden rules for a clean exit.
- What are the 5 hockey breakout calls?Up, over, wheel, reverse and rim: the five hockey breakout calls, each one answering a specific pressure read on the recovering defenseman.