
No credit card required. The free plan stays free.
On this page
Phase 1 / 5Offensive zone
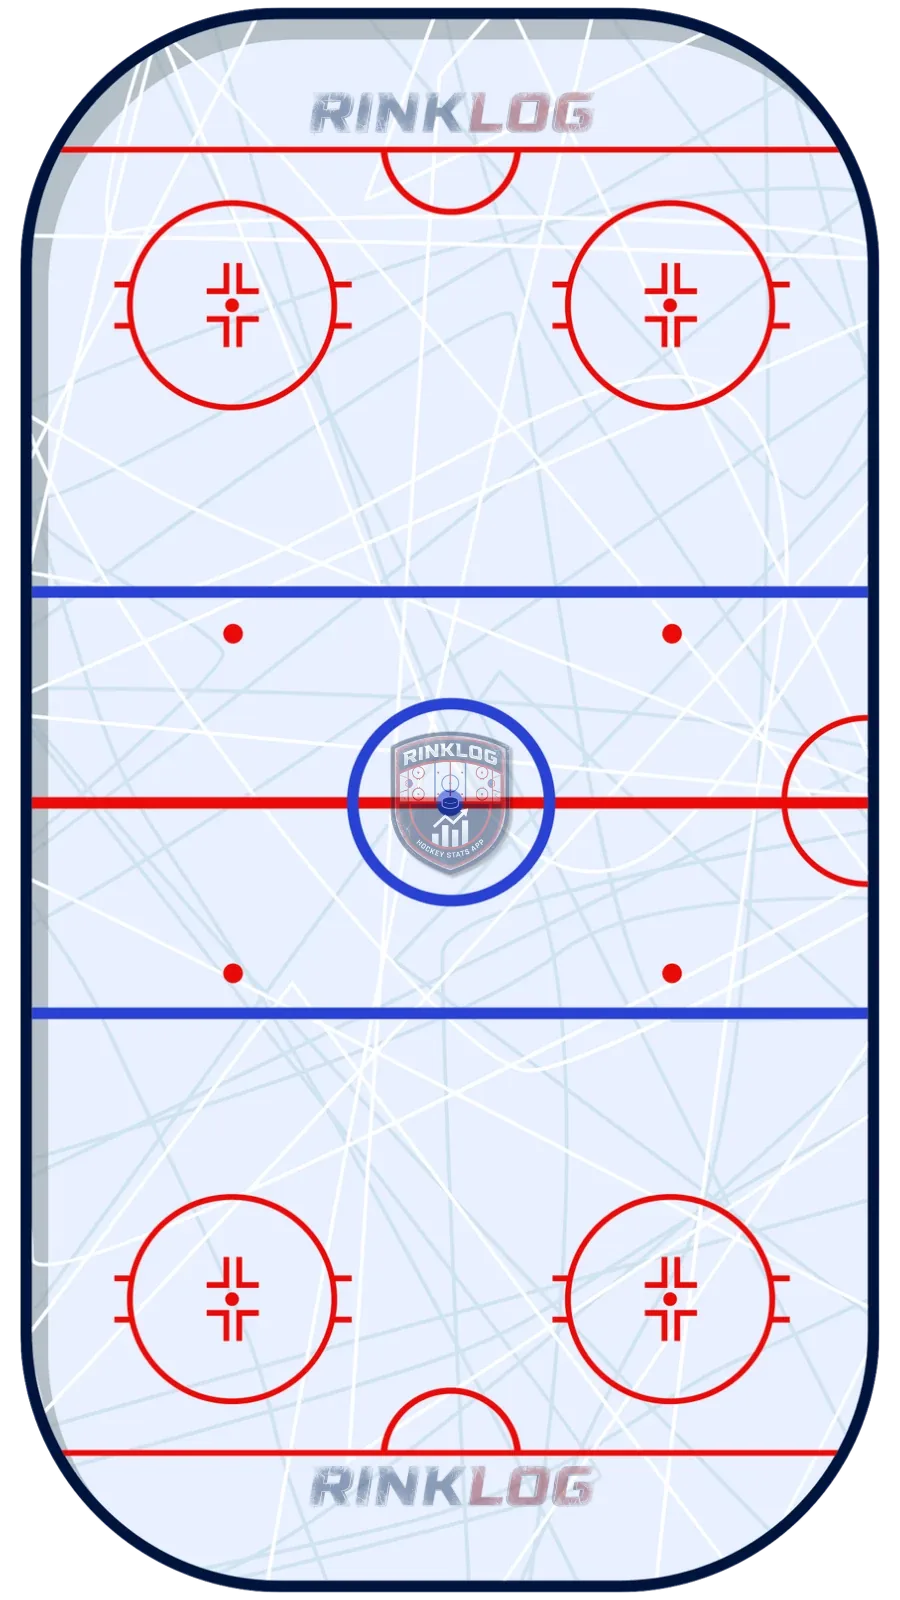
Overload setup: four players stacked on the strong side around F1 on the half-boards, with D2 alone on the weak side as the release valve and a threat outside the kill's field of vision.
- Our team
- Opponents
- Pass
- Shot
- Puck
Either side can be the strong side. The choice comes down to handedness: left shots run the play from the right half-wall and right shots from the left, keeping both the shooting and passing angle on the proper side. A team can therefore build its overload left or right depending on which unit is out.
Five spots, five mandates. The half-boards player is the real quarterback: he slides along the wall, distributes, shoots from the outside and has to stay calm when the kill forces him. The strong-side defenseman holds the point, feet on the blue line, with a shooter's mentality. The low walk player keeps his feet on the goal line, ready to attack quickly or collect a rebound. The net man screens the goalie on every shot. The back-side defenseman is the release valve and a threat outside the kill's field of vision.
Six options are taught from that base. The back-side D slide and shoot, which ends in a shot, a tip or a cross-ice pass. The strong-side D shot, the most consistent option for creating chances. The half-boards shot, where the quarterback follows the defenseman's move before cutting inside. The low play, with three outcomes at the net. Then two rotation mechanisms: the half-boards interchange and the sliding D interchange, added once the rest is mastered.
The strength of the overload is concentration. Four players in a tight area multiply short give-and-gos, screens and rebound recoveries. The half-boards quarterback sees the whole play in front of him, which gives the unit a genuine decision maker.
Its weakness mirrors its strength. The entire weak side is entrusted to one defenseman, and a compact box sliding with the puck can take away both the shot and the cross-ice pass. A dedicated shot blocker charging the point forces the play elsewhere. A man-coverage kill follows the position swaps and cancels their confusing effect. And if the low player drifts wide or always sets up in the same spot, the kill reads the next move and the box stops twisting.
Of the three setups, the overload is the easiest to spot from a distance: four jerseys on one side, one on the other. Follow the half-boards player for a full shift and note what happens after each of his touches. With RinkLog every shot, chance and turnover is located and timestamped, which lets you measure whether the strong side is actually producing or merely holding the puck.
- The strong side is chosen by shooting handedness, not at random
- The half-boards player is the quarterback: calm under pressure, reading who comes to force him
- The low player keeps his feet on the goal line and does not drift wide
- Varying the low player's position makes the coverage impossible to prepare
- The back-side defenseman slides in line with the puck, from goal line to blue line
RinkLog measures and computes all of this automatically during your hockey, ball hockey and ringette games.
No credit card required. The free plan stays free.
Frequently asked questions
Overload or 1-3-1: which one should you choose?
The overload suits a team with a genuine half-boards quarterback who stays calm when two killers come at him. The 1-3-1 fits better when all three high players hunt the shot and the team wants to change sides constantly.
What does twisting the box mean?
It means deforming the opposing box by dragging the strong-side killer toward the middle, or past it, then moving the puck back to the half-boards or to the back-side defenseman. The box never recovers its shape fast enough, and that gap becomes the scoring chance.
The free plan lets you create a player and track their games with no credit card.
Create my free accountOn the same topic
- How does the 1-3-1 power play work?The 1-3-1 power play: all five spots, the four options from the book, why it is so hard to defend and how a box coverage counters it.
- How does the split power play work?The split power play: two defensemen on the blue line, two half-boards players, a net man, five options, and the free switch into an overload.
- How does a hockey power play work?How a hockey power play works: breakout, zone entry, overload, 1-3-1 and split setups, five on three, four on three, and realistic success rates.