
No credit card required. The free plan stays free.
On this page
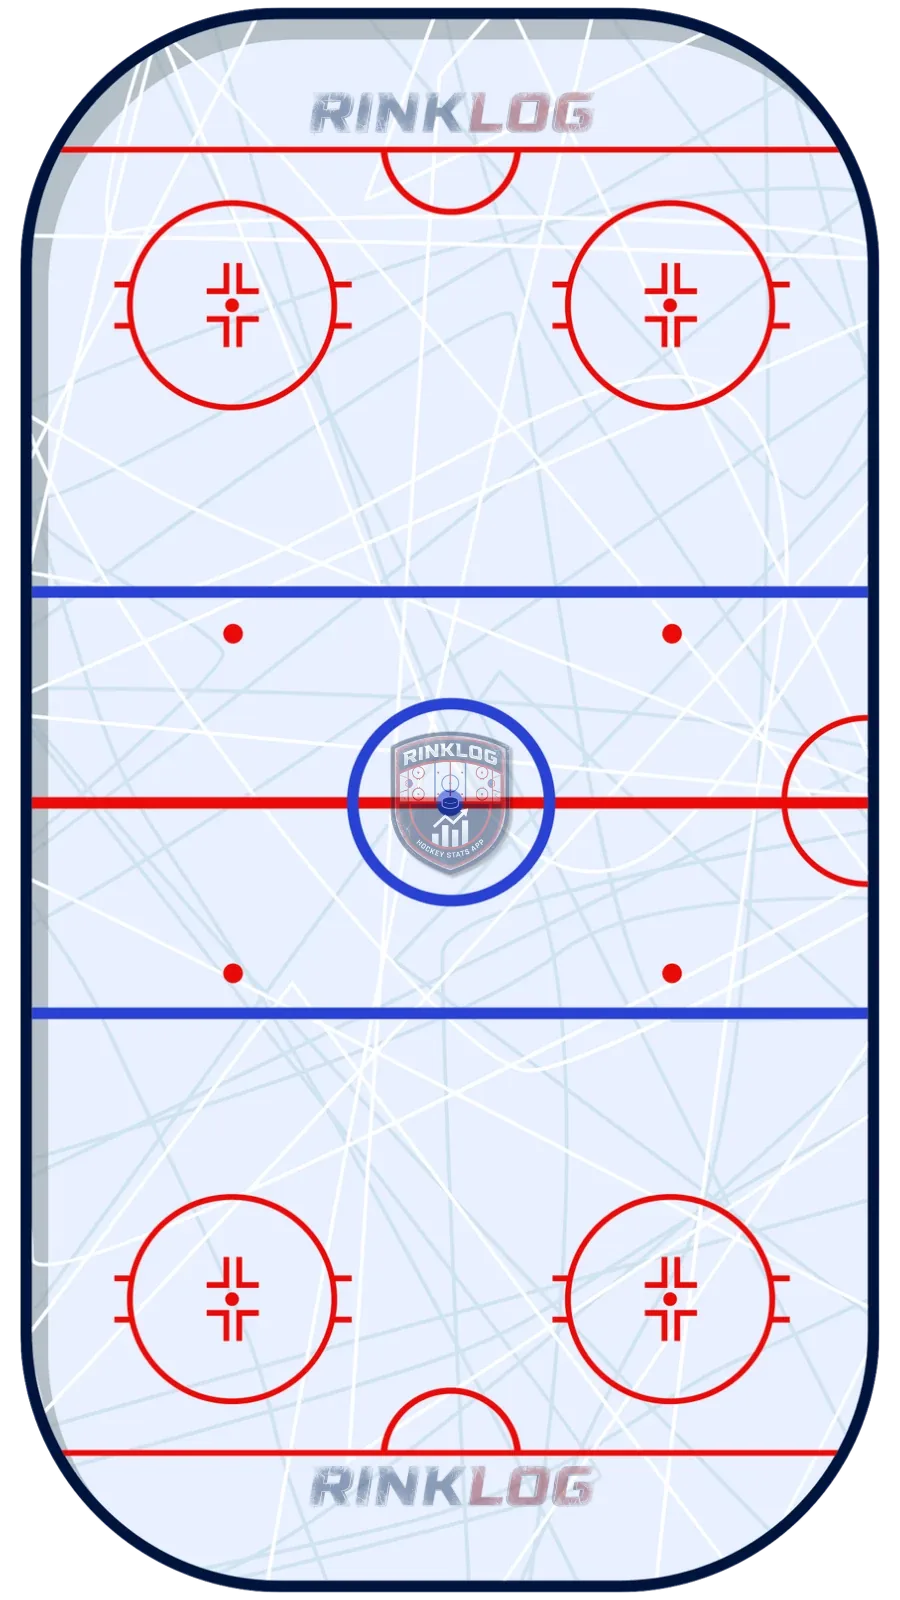
Phase 1 / 5Offensive zone
Split setup: D1 and D2 on the blue line, roughly a face-off circle apart, F1 and F2 on both half-boards, F3 at the net.
- Our team
- Opponents
- Pass
- Shot
- Puck
The base mechanic is one gesture: as soon as the puck reaches one defenseman, it goes straight to the other. That relay forces the penalty kill to cover the full width of the blue line instead of camping on one side. Both defensemen must be ready to shoot, and a wrist shot is perfectly acceptable when time and space are short.
The two half-boards players work exactly as in the 1-3-1: right shot on the left, left shot on the right, with the priority of moving the puck up to the defensemen, especially when the pressure comes from below, rather than forcing a play through the box. The net man keeps the same mandate as everywhere else: stay active, get into shooting lanes, release to one side for a low pass, and relay the puck behind the net to the opposite half-wall to escape pressure.
Five options are taught. The D-to-D point shot, with instructions to aim low because a low shot leaves a rebound the goalie handles badly. The D-to-D and back, where the second defenseman's fake opens the shooting angle for the first, right in the middle. The D-to-D cross-seam pass to a half-boards player for a one-timer. The double-seam pass, which adds a second fake and crosses the ice twice. And the low-release play, a chain of three fakes ending with a low feed to the net man and a choice between driving the net and the back door.
The strength of the split matches that of the 1-3-1: it is hard for an aggressive kill to defend, because every pressure release leaves a lane. It also has an advantage of its own: it converts easily into an overload and back mid-shift, with no personnel change. And when the defensemen shoot, lanes open mechanically for the forwards below them.
Its weakness is sequence length. The low release demands three consecutive fakes, and rushing the chain makes it readable from the first pass. A strict zone kill that reacts to no individual fake absorbs the whole sequence without moving. A killer glued to the cross-seam receiver from the first fake kills the one-timer. And a goalie who controls his low rebounds removes most of the benefit of option 1.
One look at the blue line is enough: two defensemen lined up and nobody planted in the slot means a split. Count the D-to-D relays that actually end in a shot, and watch where the rebounds go. With RinkLog shots are located and timestamped, which lets you check whether rebounds really went to the sides, the way the system intends.
- Immediate D-to-D relay as soon as the puck goes up: that is what stretches the kill
- Aim low on the point shot to generate usable rebounds
- One fake before every pass, otherwise the sequence becomes predictable
- The net man relays behind the net to escape pressure
- The split can flip into an overload and back with no personnel change
RinkLog measures and computes all of this automatically during your hockey, ball hockey and ringette games.
No credit card required. The free plan stays free.
Frequently asked questions
What is the difference between the split and the 1-3-1?
The 1-3-1 puts a single player at the point and a player planted in the slot. The split keeps both defensemen on the blue line and leaves the slot open, relying on the lanes that open when the defensemen shoot.
Why aim low rather than high?
Because a low shot is much harder for a goalie to control: the rebound often squirts to the sides, exactly where both half-boards players converge. A reflex shot high gives the goalie a clean rebound that is easy to freeze.
The free plan lets you create a player and track their games with no credit card.
Create my free accountOn the same topic
- How does the 1-3-1 power play work?The 1-3-1 power play: all five spots, the four options from the book, why it is so hard to defend and how a box coverage counters it.
- What is the overload power play?The overload power play: four players on the strong side, a half-boards quarterback, the six options from the book, and the ways to counter it.
- How does a hockey power play work?How a hockey power play works: breakout, zone entry, overload, 1-3-1 and split setups, five on three, four on three, and realistic success rates.